Introduction
This page will introduce you to all the things you need to think of when going to an organized PGP signing party as an attendee.
What is a PGP signing party?
A PGP signing party is a meeting of OpenPGP and GnuPG users willing to sign each other‘s keys. However, signing a key usually is a complicated matter. You need to check everyone‘s key‘s fingerprint and their ID for verification. To speed things up, organized events will hand out pre-created lists of keys and a cryptographic hash of that entire list. By comparing the hash in a room, all attendees can make sure they are looking at the exact same list with the exact same key finger prints. No further verification is needed.
The next step after the verification: All attendees will stand in front of each other in two rows. After validating the person in front of you, each line will move one step into one direction, where the last person of the row switches rows. If you repeat this, you will have validated every other attendee after n-1 steps.
Attendee‘s party preperation
GnuPG set up
To make sure you can create secure keys and signatures, check your .gnupg/gnupg.conf file for settings about hashes, encryption algorithms or compression algorithms. If in doubt, stick to the sane defaults.
Step 1: creating your key pair
Of course you need a key in case you want to go to a signing party. Here is a commented walk-through of modern settings as of 2022 october.
$ gpg --full-generate-key --expert

# While RSA is still secure, ECC (eliptic curve cryptography) is
# thought of as the future replacement and considered more secure.
# If you do not want to encrypt files, use 10.
# In any other case, use 9 (sign and encrypt).
# Sign always comes with certify ('SC' flags)
Please select what kind of key you want:
   (1) RSA and RSA (default)
   (2) DSA and Elgamal
   (3) DSA (sign only)
   (4) RSA (sign only)
   (7) DSA (set your own capabilities)
   (8) RSA (set your own capabilities)
   (9) ECC and ECC
  (10) ECC (sign only)
  (11) ECC (set your own capabilities)
  (13) Existing key
  (14) Existing key from card
Your selection?  9

# Some researchers think that NIST curves might have a backdoor,
# but this has never been proven.
# Brainpool ciphers are less common, and may have less support in e.g. Java.
# 1 is a reasonable choice. Curve 25519 is used widely.
Please select which elliptic curve you want:
   (1) Curve 25519
   (3) NIST P-256
   (4) NIST P-384
   (5) NIST P-521
   (6) Brainpool P-256
   (7) Brainpool P-384
   (8) Brainpool P-512
   (9) secp256k1
Your selection?  1

# Expiry is a very personal topic.
# You can always prolong your key, even after it has expired.
# But in case anything happens, better let it expire automatically.
Please specify how long the key should be valid.
         0 = key does not expire
      <n>  = key expires in n days
      <n>w = key expires in n weeks
      <n>m = key expires in n months
      <n>y = key expires in n years
Key is valid for? (0) 5y

Key expires at Mi 20 Okt 2027 22:17:49 CEST
Is this correct? (y/N) y

GnuPG needs to construct a user ID to identify your key.

Real name:  Arno Nym
Email address: arno@nym.invalid
Comment:
You selected this USER-ID:
    "Arno Nym <arno@nym.invalid>"

Change (N)ame, (C)omment, (E)mail or (O)kay/(Q)uit? O

# Passphrase dialog pops up
# Chose a strong passphrase (> 16 chars),
# not a password and certainly not a simple one!

# take note of these lines.
pub   ed25519/0x50119D5DF3EEB714 2022-10-21 [SC] 8[expires: 2027-10-20]
      Key fingerprint = 86E3 02DD 283F A597 722A  2CA1 5011 9D5D F3EE B714
uid                              Arno Nym <arno@nym.invalid>
sub   cv25519/0xB23758666E375DD5 2022-10-21 [E] [expires: 2027-10-20]
You have successfully created your new keypair.
You will now need to extract your key information by using this command.
$ gpg --list-keys --with-fingerprint 0x50119D5DF3EEB714
pub   ed25519/0x50119D5DF3EEB714 2022-10-21 [SC] [expires: 2027-10-20]
      Key fingerprint = 86E3 02DD 283F A597 722A  2CA1 5011 9D5D F3EE B714
uid                   [ultimate] Arno Nym <arno@nym.invalid>
sub   cv25519/0xB23758666E375DD5 2022-10-21 [E] [expires: 2027-10-20]
      Key fingerprint = CDF7 9686 3DDF 64C3 E9C7  84C3 B237 5866 6E37 5DD5
Step 2: Publishing your key
To be able to attend the signing party, you will need to publish your key to a keyserver. Please note that there is no way of unpublishing it. You name, e-mail address and key will always be visible to every one — forever.
To send your key, use this command:
$ gpg --send-keys 0x50119D5DF3EEB714In case the signing party has their own key server set up (for privacy reasons, see above), use this command:
$ gpg --keyserver "<url>" --send-keys 0x50119D5DF3EEB714Step 3: printing the finger print
Your linux distribution or MacOS PC might have the utility "signing party". If so, just execute this command to create a pdf file with all the relevant data:
$ gpg-key2ps -p A4 0x50119D5DF3EEB714 > keys.ps && ps2pdf keys.ps.You will now find a file keys.pdf in your current folder. In any case, you can also just create a OpenDocument file using the following properties:
Page size letter (US) or DIN A4 (rest of the world)
reduce page margins to 1.5cm
Create a table with 2 cols and 9 rows
Set the table content font to monospace, font size 8 or smaller (you can use .5 steps)
add gutter lines
paste the output from above
It should ultimtely look like this:
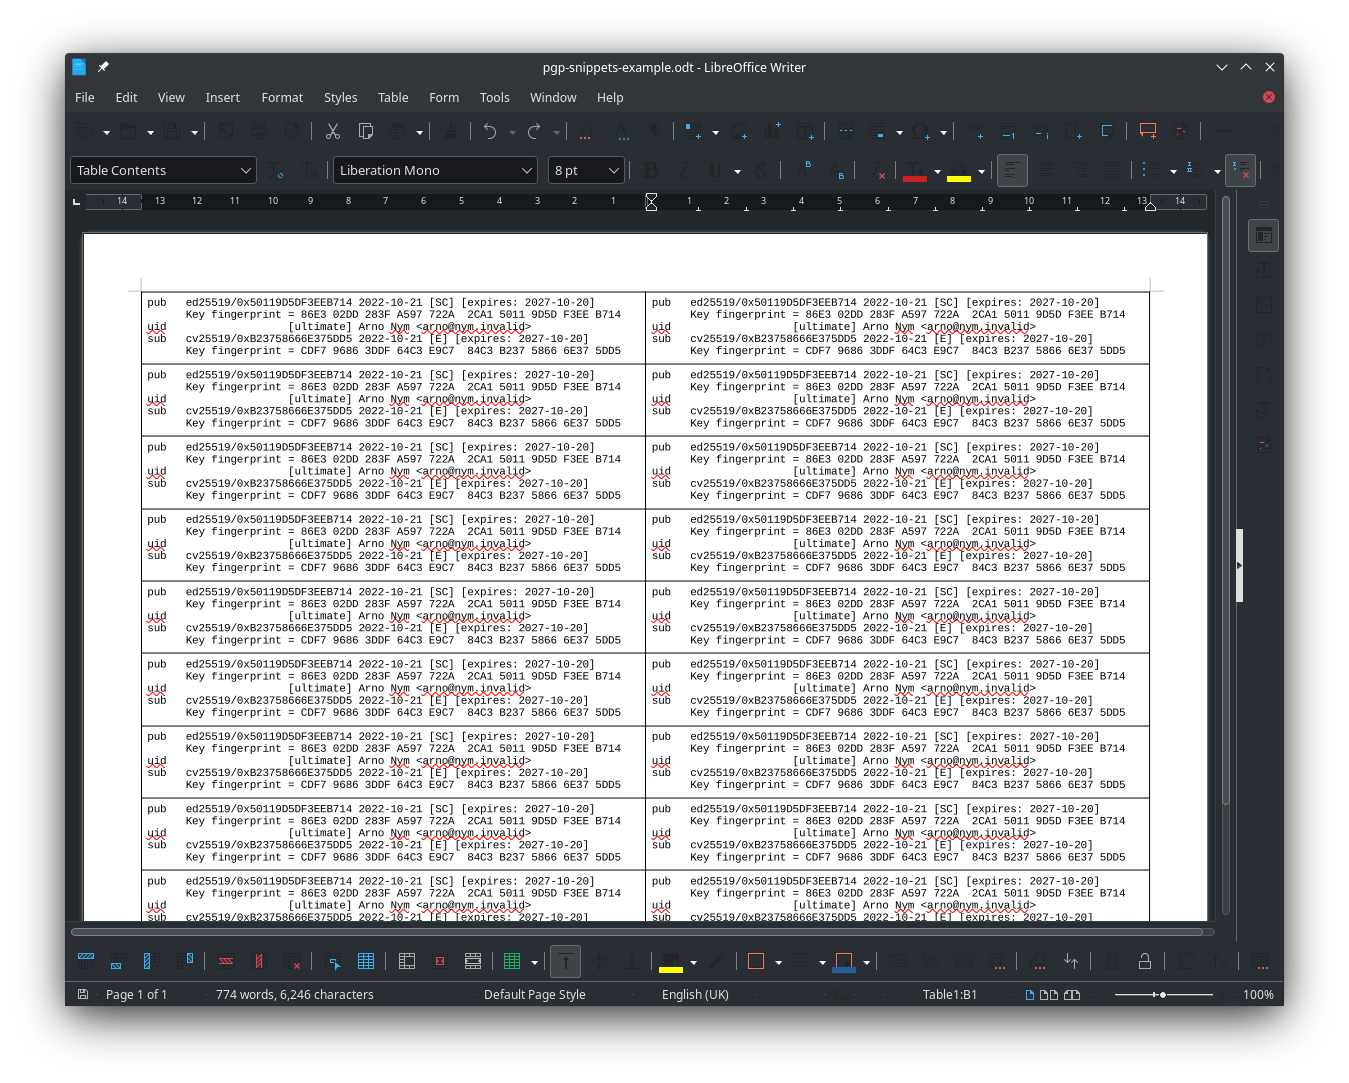
Please find an exmaple file here: pgp-snippets-example.odt.
Step 4: Printing the global list
In case the master of ceremony had set up a key server, he will ask you to print out an attendee list. It is a normal text file you can just print with any program.
You will probably be asked to write down its hash:
# for md5:
$ gpg --print-md md5 ${file}.txt

# for sha1:
gpg --print-md sha1 ${file}.txt

# for sha256:
gpg --print-md sha256 ${file}.txt
This list will be needed to check whether all attendees use the same list.
Step 5: Keep your things together
To the signing party, bring the following items:
- ID or Passport
A valid ID or passport issued by an official authority. Examples: state ID, passport, driver‘s license with photograph, etc. Snippets: The snippets from step 3. Make sure to bring one for each attendee.
- Attendee list
The list you printed in step 4.
- A pen
You will need to make notes. photograph Any kind of pen will do, but make sure it is not eraseable with a rubber.
- Yourself
You cannot send a proxy
Tips for verifying:
Hand each other out a snipped.
Check if their ID is valid. In case they show you an ID you have never seen before, mark their snippet with an 'X' or 'NV' (for no-verify).
Double check for John Doe, Max Mustermann.
Ask them random information from their ID (middle name, birthday, etc.).
Check the photograph. Ask them for the age of the photograph.
check their e-mail address. Does it look sane?
Check for comments. You will also be signing the comments. If they put their job in there, you cannot sign it.
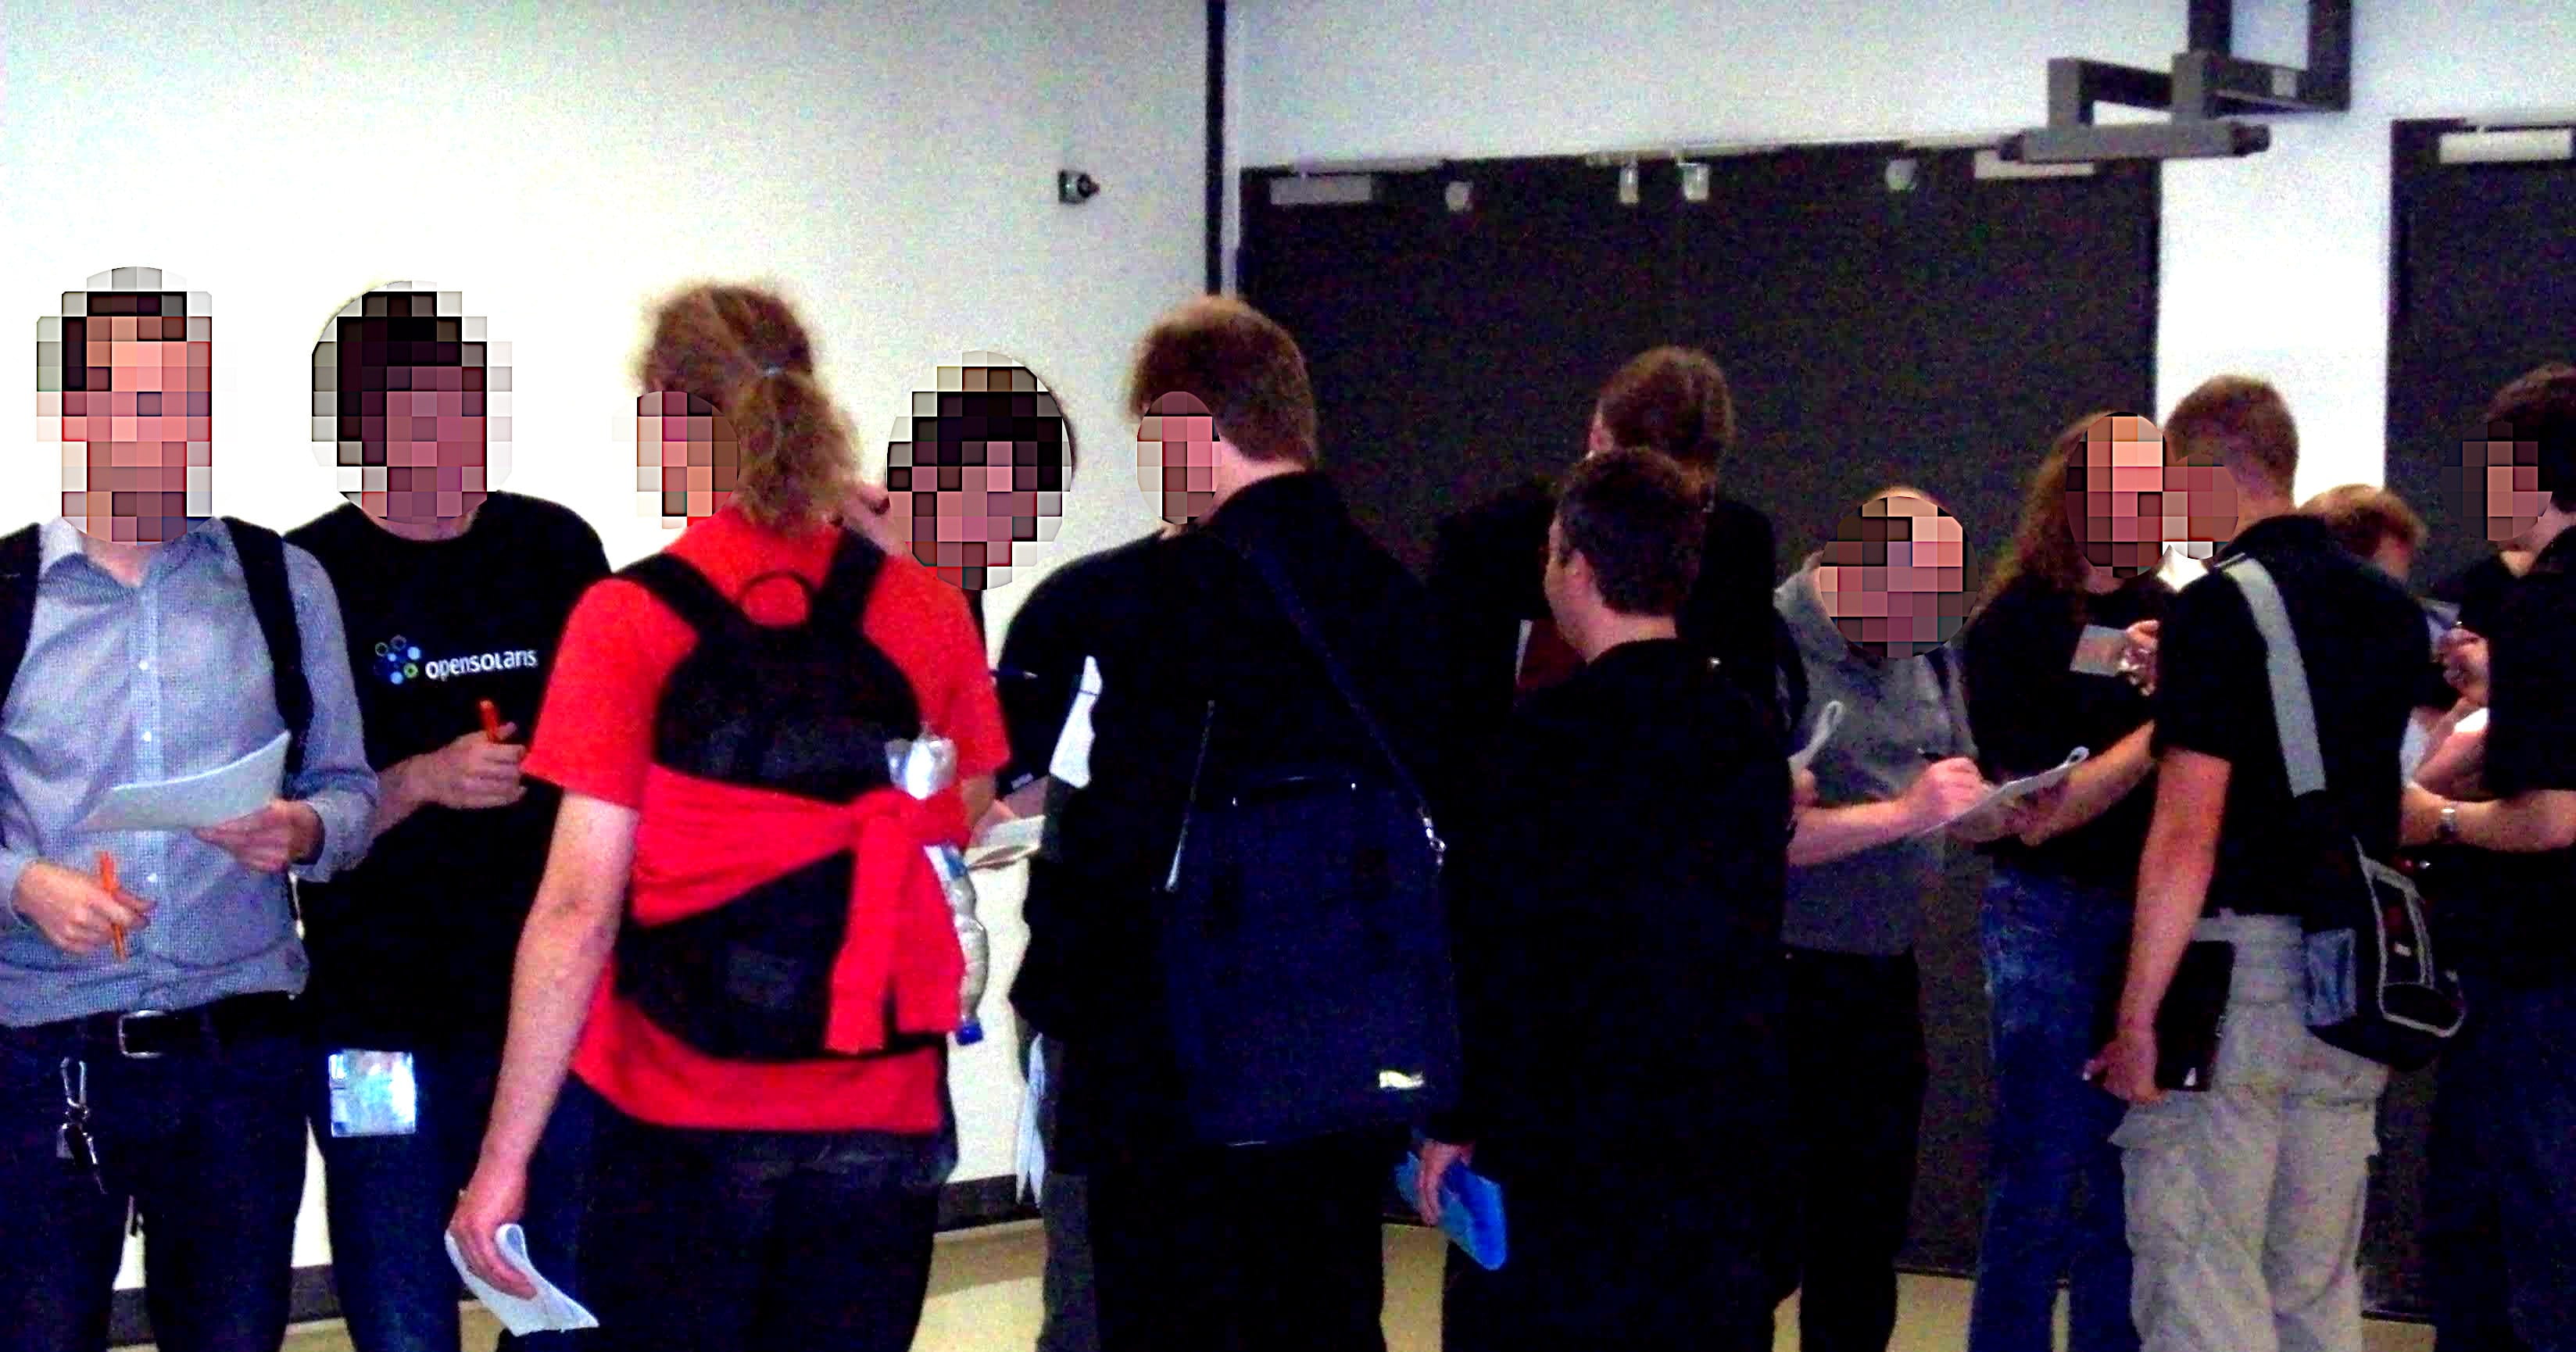
In case you can verify the authenticity of the person, sign the snippet you got (but keep it for yourself!).
This will look simething like this:
After the signing party
Who can be certified?
Do not certify everyone Do NOT certify persons with cert-level 3 when they gave you a wrong name, non-matching fingerprints, invalid IDs etc. |
Rules of thumb:
Level three (3) can only be given to persons where you were able to validate their full name, key finger print, e-mail address and identity. You can only validate their e-mail by sending them an encrypted copy of their signed key via e-mail.
This means the person you want to certify must be:
owner of the mail address / mail account
be in posession of the private key
has given you the correct name, e-mail address and PGP key fingerprint
you know the other person for a longer time.
Again: if the person has a photo ID or comment in they public key, you probably cannot give a level three (3) certification.
Give this level only to your friends, colleagues etc. you know for a long time.
Level two (2) can be given for checks where you are pretty sure it is them. Maybe a comment cannot be verified (e.g. their job), and you do not know the other person from before. This should be the default level you will be using.
Level one (1) can be given to persons using a testified pseudonym.
Level nought (0) means you do not say how properly you validated the documents.
Signing keys using caff -– CA Fire and forget
For everyone who brought a valid ID, key finger print etc you will be sending out an e-mail. By know you should have installed the signing-party package.
Now, make sure you have these settings in your $HOME/.gnupg/gpg.conf:
ask-cert-level
# default-cert-level 2 # commented out

# in case you validated everyone:
# ask-cert-level
default-cert-level 2
Make sure you have set up your $HOME/.caffrc as well.
# set up your mailer.
# better use a local satellite setup, but this will do.
$CONFIG{'mailer-send'} = [ 'smtp', Server => 'mail.mustermann.invalid', Auth => ['max@mustermann.invalid', 'maexchenmustermann'] ];
# Do not even think about using this setting:
# $CONFIG{'gpg-sign-args'} = "save";
Sonst haben Sie keine Möglichkeit, alle Angaben zu prüfen – es wird sonst alles automatisiert! Das ist unerwünscht!
# set the following variables:
$CONFIG{'owner'} = "your name";
$CONFIG{'email'} = "your@mail.invalid"
Now you will need to type a bit:
gpg --recv <id> <id> <id>caff -m yes <id> <id> <id>
For every step, check all the data on screen! Check for typos, comments, invalid mail addresses, key finger prints, etc.!
Receive and publish the signatures you got
From key servers
Some people may have uploaded the signatures directly to the key server. This is generally not recommended, as they will not have validated you email address.
# replace with your own ID
gpg --recv 0x50119D5DF3EEB714
From e-mails with attachment
As stated before, this is the recommended way of sending and publishing signatures. Save the file anywhere and then execute:
# import new signatures
gpg --import ${file_asc}
# then upload
gpg --send-keys 0x50119D5DF3EEB714
You are done! This was quite a bit of work, but you made it!
Sources and literature
Original article:
http://www.phillylinux.org/keys/terminal.htmlSources from this blog:
Tag: GnuPGGnuPG man page:
man gpgUbuntuusers wiki (German) +: http://wiki.ubuntuusers.de/GnuPG
Signingparty LinuxTag 2009 (als Beispiel):
http://wiki.linuxtag.org/w/KeysigningSigning-Tools (Paket Signing-Party):
http://pgp-tools.alioth.debian.org/